How to Re-Purpose Lesson Plans &
Materials for Digital Classrooms
Whether you are teaching via full remote learning, on a hybrid schedule, or blending your in-person classes with virtual classrooms, you’ll need your lesson plans and materials ready for digital classrooms. The good news is — you can re-purpose lesson plans and materials for digital classrooms without reinventing the wheel or making all new activities, worksheets, files, etc. In this blog post, I hope to share some hacks you can use to easily convert, edit, and share what you have from your traditional classroom right into your digital classroom.
1. CHECK TERMS OF USE
This is a quick disclaimer and gentle reminder to be sure to check the terms of use and/or copyright information on your files before posting anything online. Most files (especially those that I create and sell and many others sold or shared on the TPT Marketplace) allow teachers to upload/import into a password-protected learning management system to share with your students. They likely don’t permit sharing from classroom to classroom or teacher to teacher, though. So, before you do any re-purposing, just have this info in mind.
2. USING PDFs DIGITALLY
Many files are in PDF format for various reasons, usually because that format is universal across platforms, computer types, various LMS, etc. Often, they are in PDF format because they use special fonts, art or formatting, etc. that requires the pages to be flattened and locked. In that case, I don’t recommend using a PDF converter because that will #1 violate terms of use and #2 mess up the pages. However, you don’t really have to go to all that trouble. Upload your PDF document into your drive or digital binder as is. You’ll share or assign the file to students, and they will answer on a separate Google Doc or whatever Doc format you use. It’s really that simple!
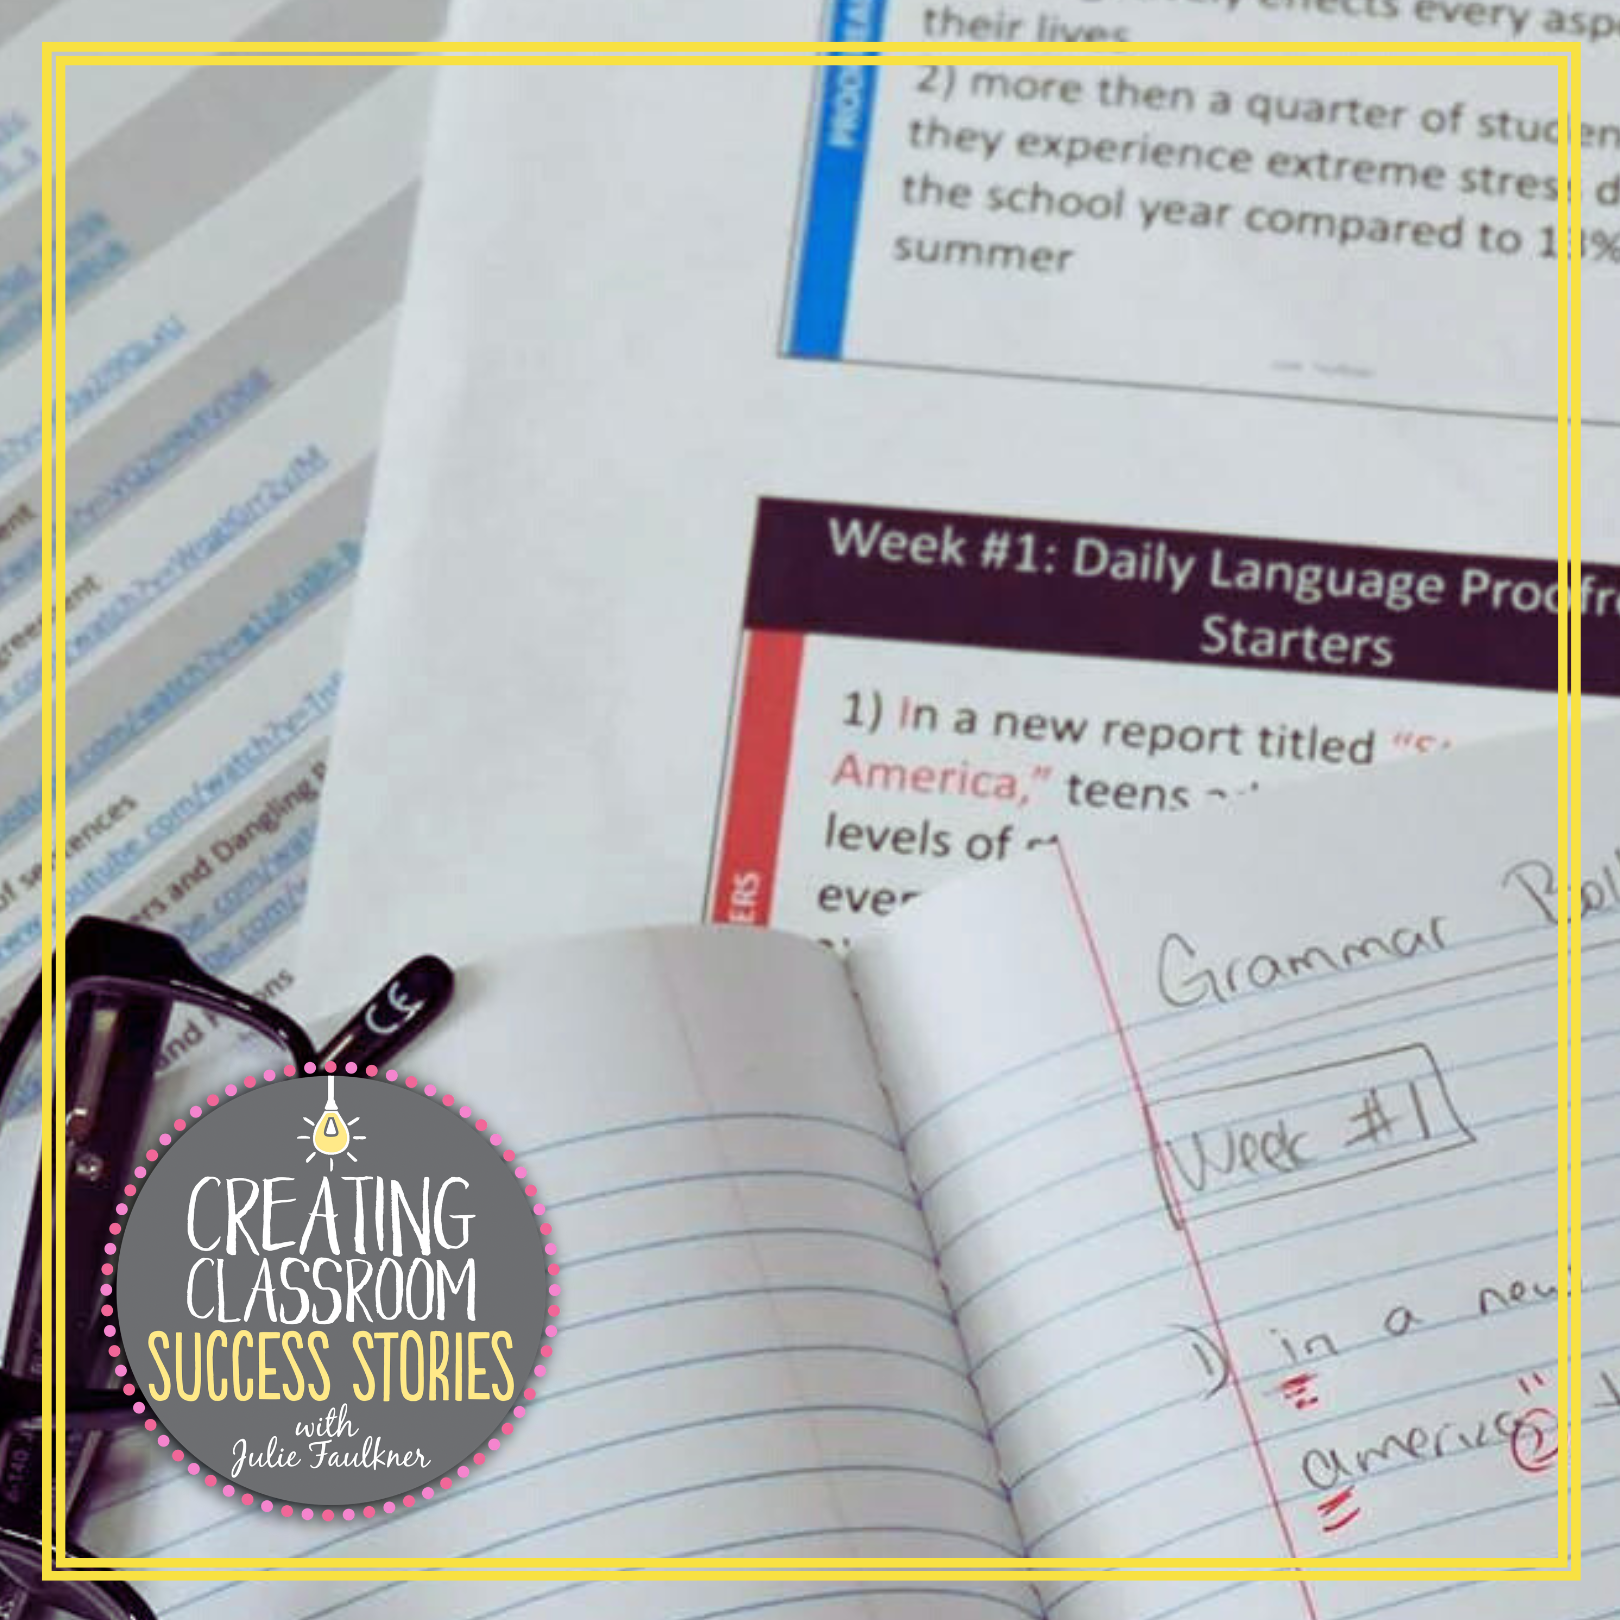
You can grab these daily language proofreading starters in my Ten-Minute Grammar Program Pack. They actually come in 100% editable format. There are also PDF annotators such as PDF Candy or Kami and other apps that allow students to write on the pdf, save as a picture, and submit. Many of those do require an account or payment for long-term use. If you have access to those in your school, that would be a perfect way to go, though. If not, just go the simple route and use those PDFs the way they are!
3. USING EDITABLE FILES DIGITALLY
If you have files that are in editable format (i.e. Word Docs or PPT Slides), then those will be very easy to upload or import into your LMS. The video tutorial below shows how I do in Google.
In Google Drive, you also have the option to import pages in your Doc or Slides file. Once you’ve done that, the new digital file will be 100% editable and ready to use with students. There’s no extra work to do.
4. CONVERTING FILES FOR DIGITAL USE
There may be an instance where you do want your files to actually be designed for digital interaction: quizzes, worksheets, sorting. In those cases, there are a few hacks you can do to get those PDF and/or editable files converted into digital format. If a file is in PDF format, and you want to make it so that students can type their answers on the worksheet, it will involve a little bit of prep work. Many of my ready-made-for-digital activities are created this way, and it is really worth the time invested because it’s super easy for students to complete once the work is done. This tutorial shows how I convert PDFs into digital worksheets.
Another time when you might need files to be specifically digital is for quizzes and tests. In this case, you could type every assessment question into your Google Form individually, or you could try this hack: use the picture feature. The tutorial below shows how I do it.
Grab the Great Gatsby sketch notes in my The Great Gatsby unit plan and my ready-made-for-digital grammar quizzes in my Ten-Minute Grammar Program bundle. I also have ready-made-for-digital Grammar Practice Worksheets as well that are no prep at all for you.
5. SHARING AND USING THE RE-PURPOSED FILES WITH STUDENTS
Depending on your LMS and platform, the techniques might a little different for getting the digital files out to students. With Google, you can create force copy links (shown in the video above called “Importing Editable Files”), which requires students to make a copy for their own drives. Google Classroom has a feature for you to add/attach the file from your own drive and you can select for Classroom to make a copy for each student automatically when they click it. If you don’t give students copies, they will be making changes that everyone else can see. Again, remember that sharing of resources digitally needs to be done in a password-protected environment and that most resources are permitted for your students but not for sharing among teachers or classrooms. It’s an honor system, of course, but we want to model responsibility and integrity for our students.
Many curriculum developers, like myself, are creating and converting ready-made digital files. However, though, it’s all a process, and if you are like me, you may need something fast. With these tips and hacks, you’ll be able to do a little easy prep work to re-purpose lesson plans and materials for digital classrooms so your students can sail into success in their remote classrooms. While moving to distance learning might not be an ideal situation in some scenarios, getting work out to students is all about working smarter, not harder and making the best of any situation. That’s a lesson for in-person and remote-learning classrooms alike.
Love this content?
Sign up for my email newsletter with more tips, ideas, success stories, and freebies!


