Everything You Need to Know
About Teaching With Movies
Showing movies in class might be controversial. However, I think they can be very effective when done with purpose. Some strategies would work with any type of film, and some would work well with a major motion picture or documentary. What’s best is that most of these activities with movies can be done with NO PREP and at a moment’s notice. Here’s everything you need to know about teaching with movies.
USE GRAPHIC ORGANIZERS TO TEACH MOVIES
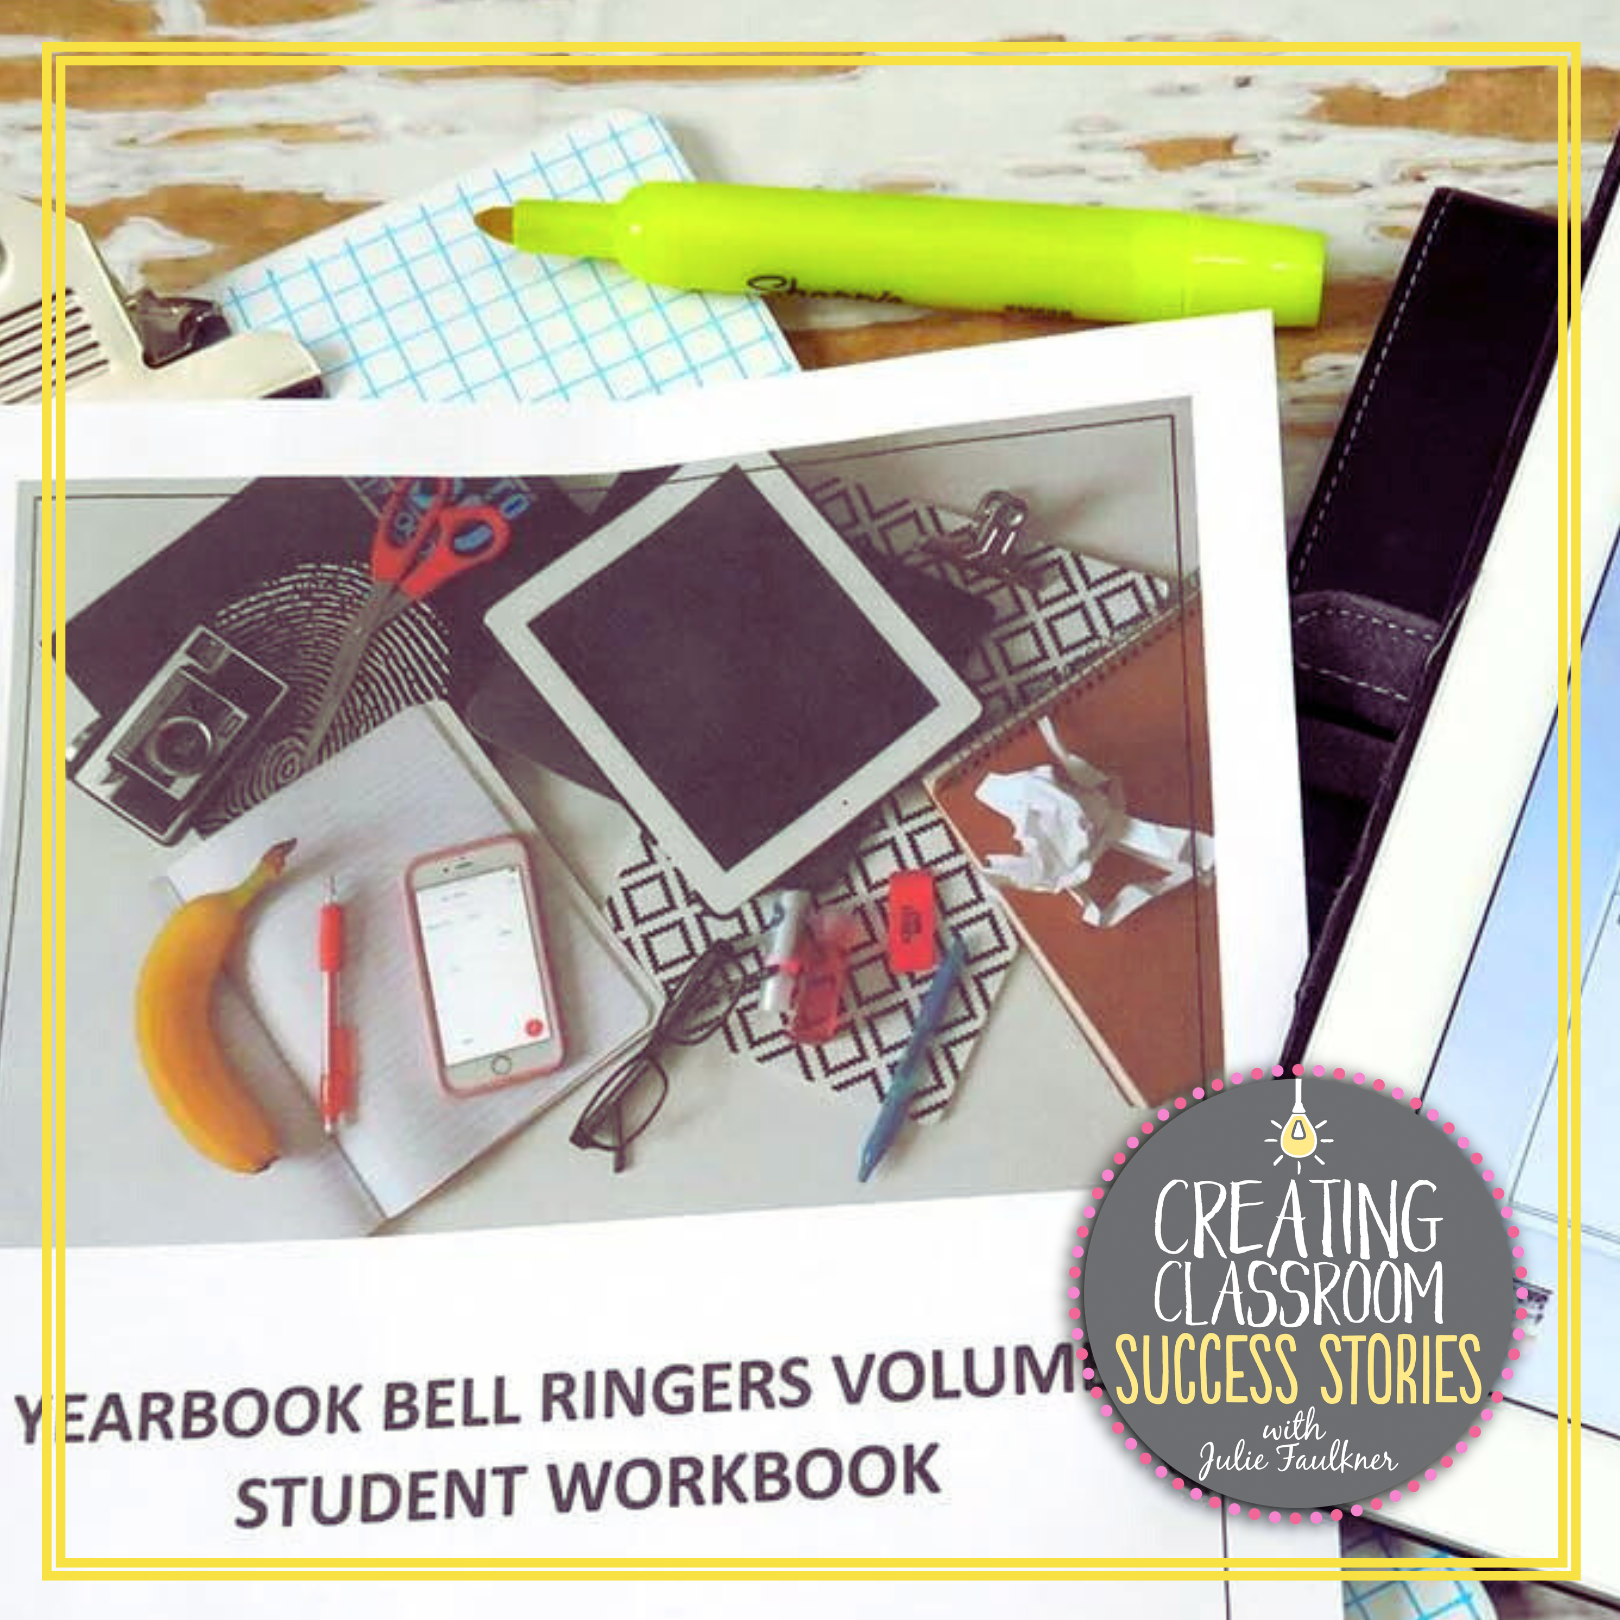
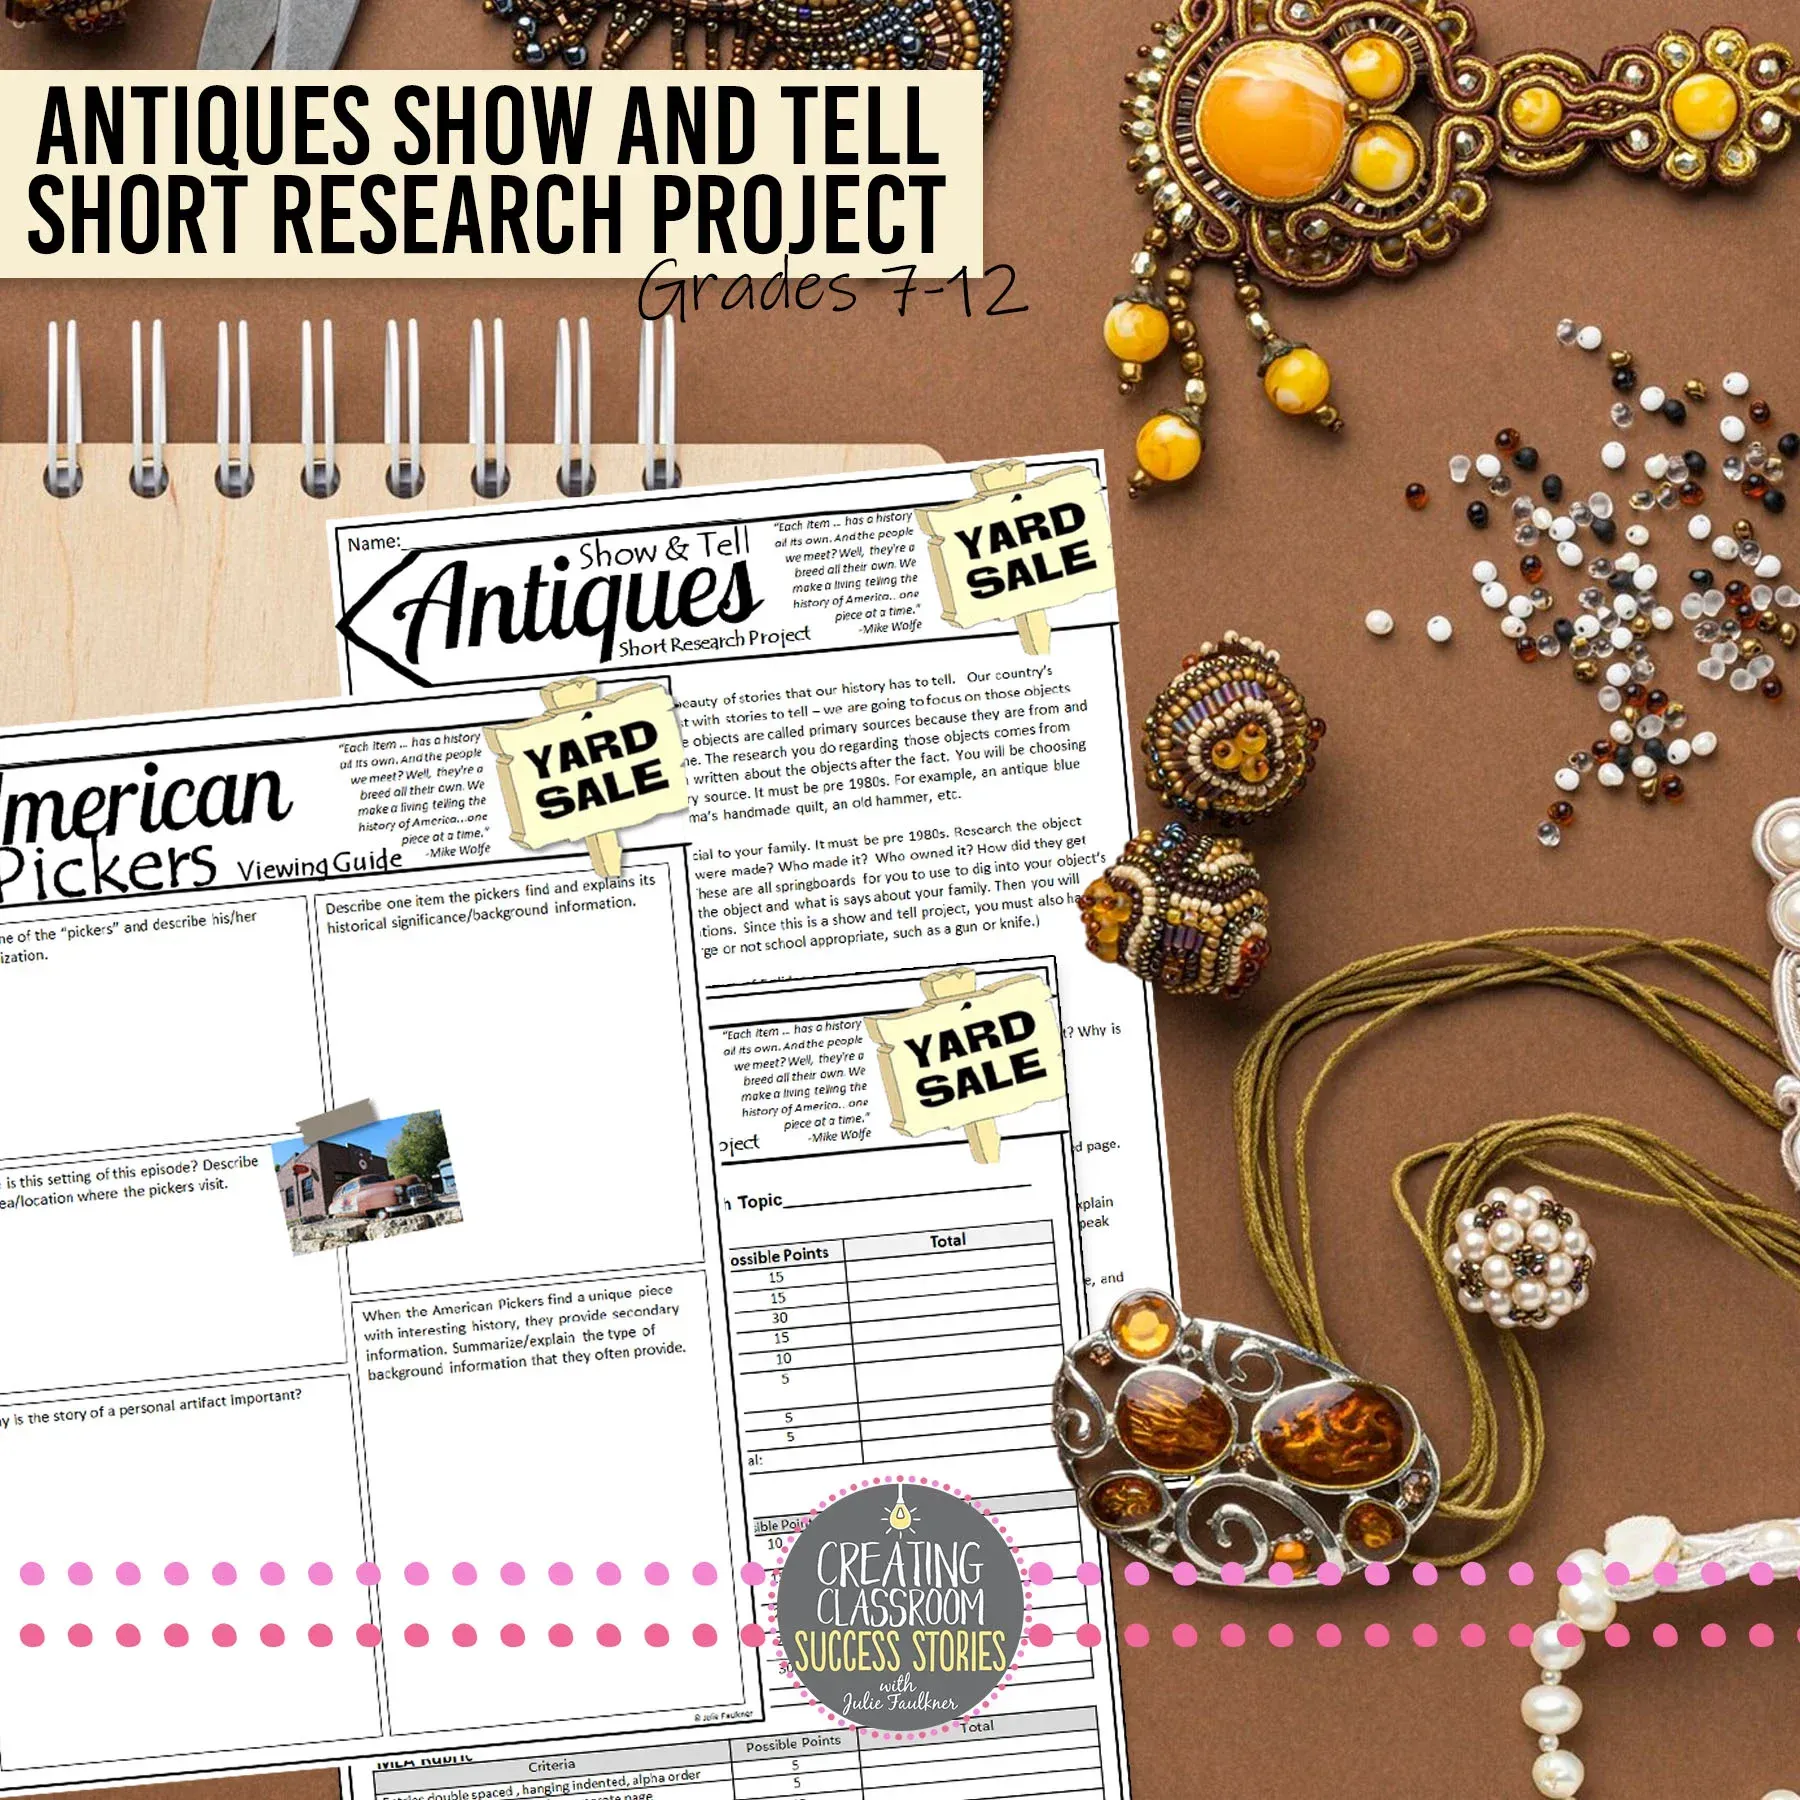
My Antiques Show and Tell Research Presentation was inspired by my love of picking and The History Channel’s American Pickers. To kick off the unit, I show a portion of an episode in class so students can see how Mike and Frank research the personal and historical stories of the artifacts they find. Since that was my goal for the lesson, I included those questions in the graphic organizer. Once when doing this project, my assistant principal came in, I was able to tell him what the students were working on and he glanced at one student’s paper while he stayed to evaluate me.
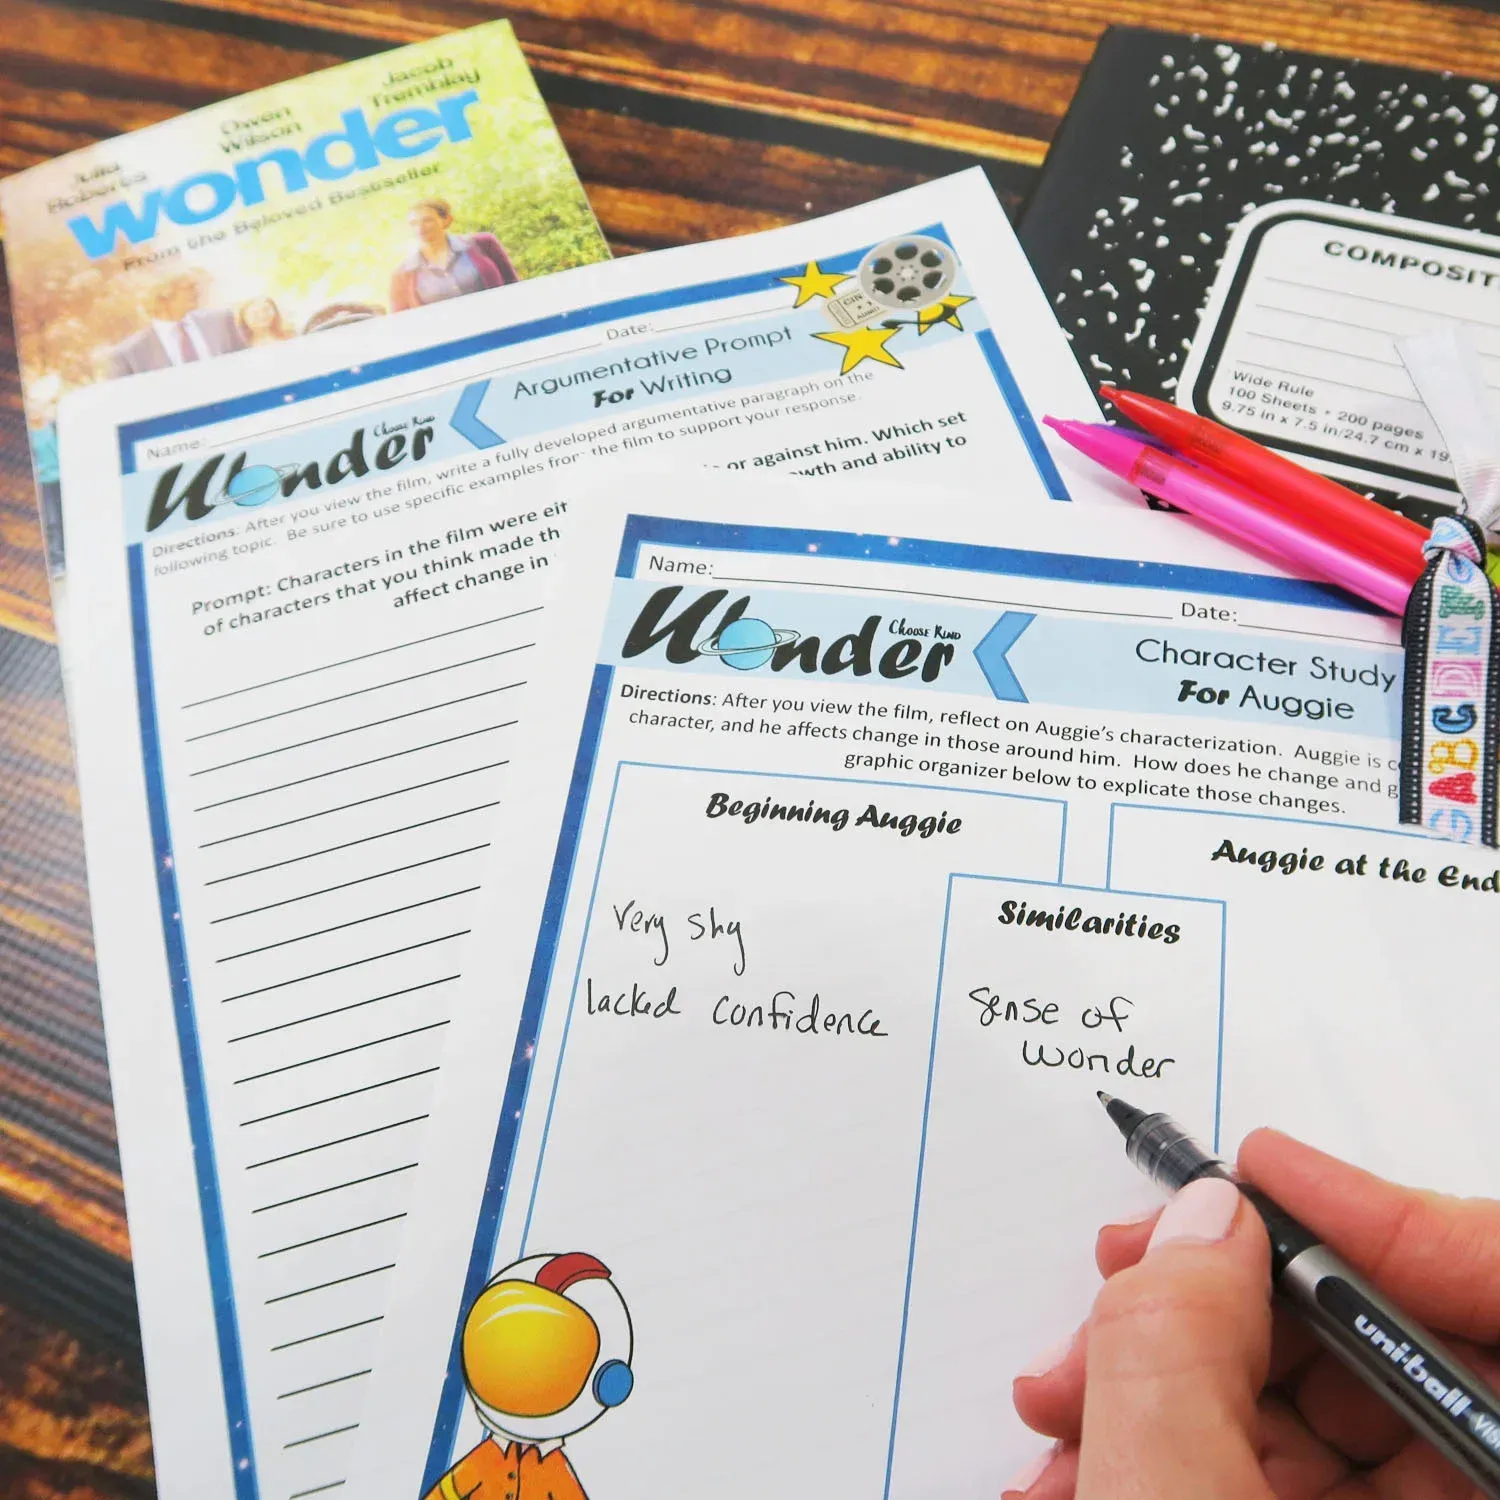
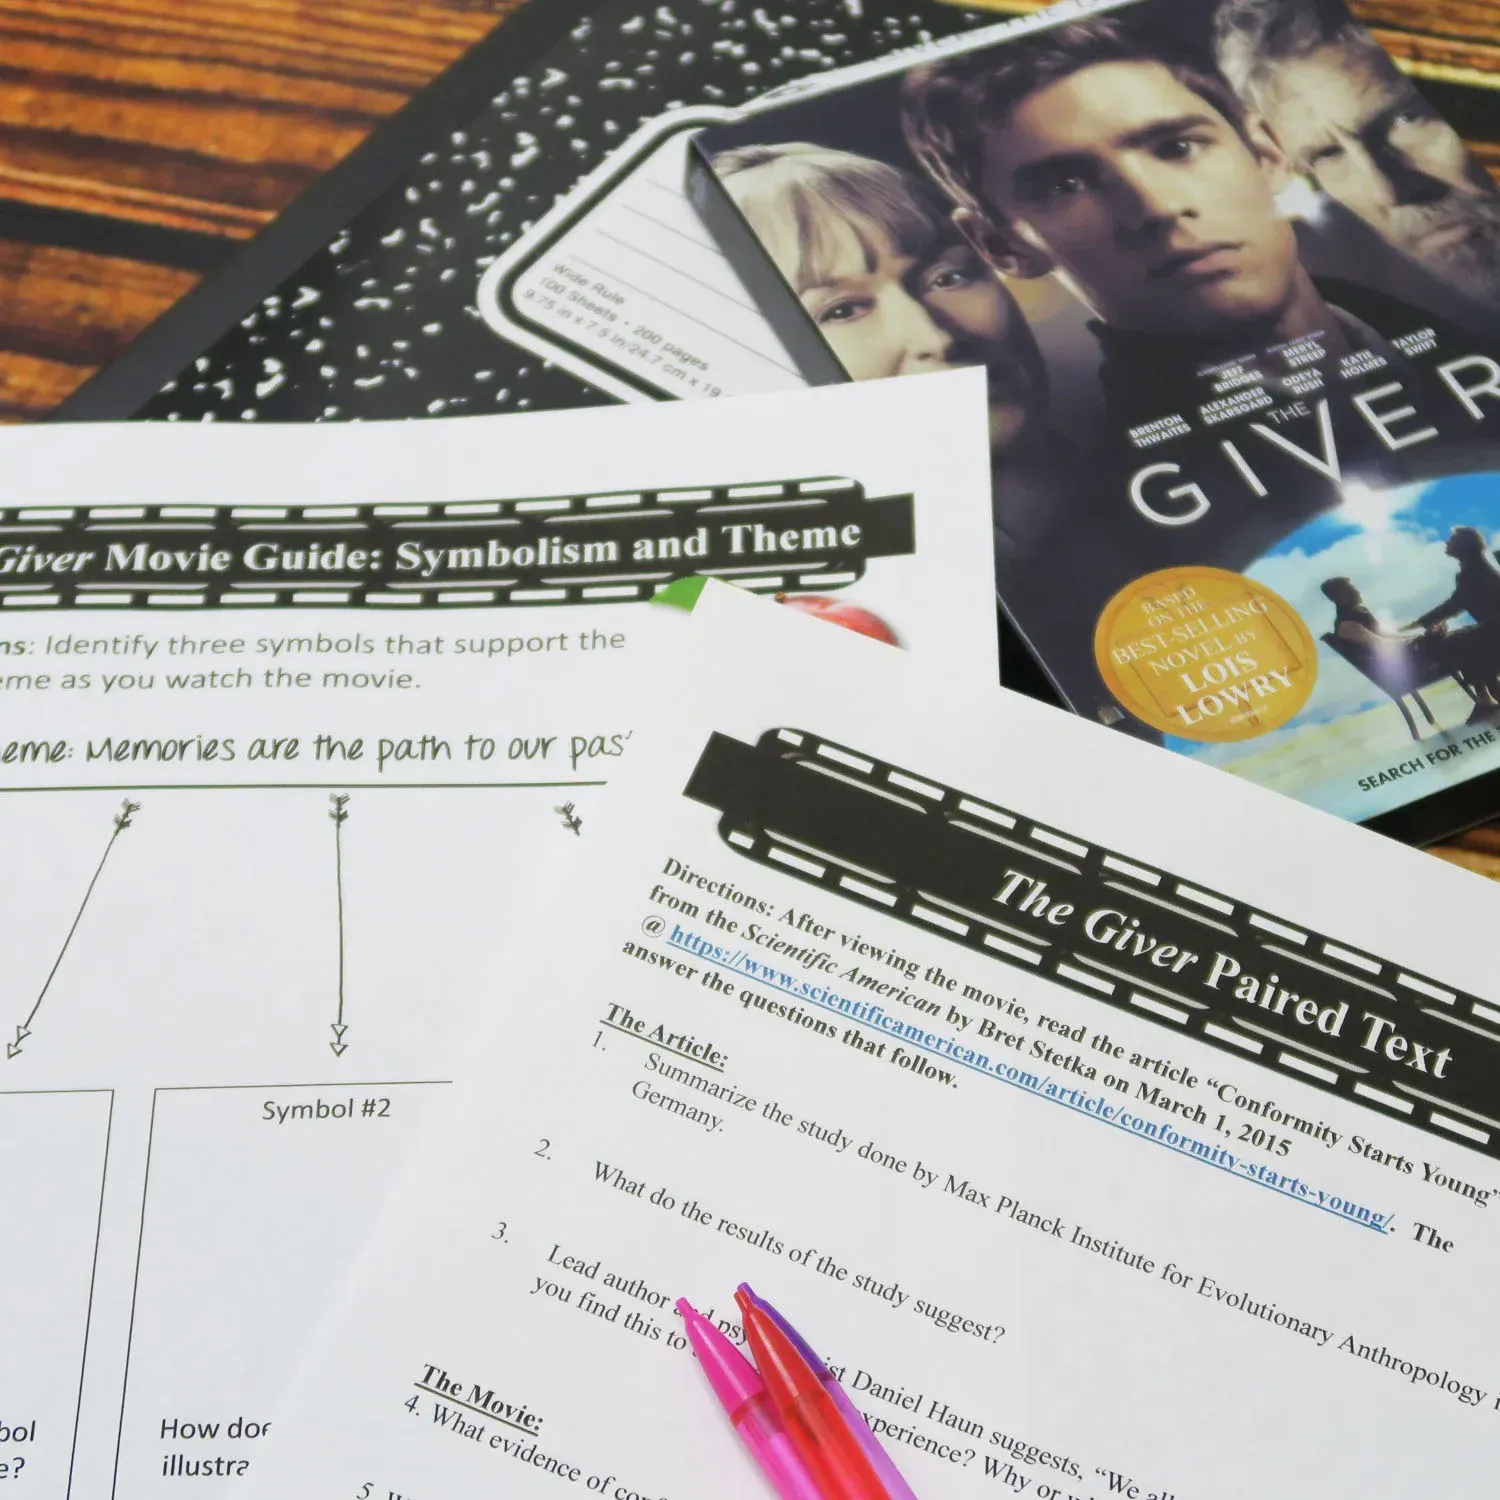
If you have some time to prep before showing a film, a graphic organizer is a really good way to engage students and guide their focus on a few key points and skills while they watch. This strategy keeps students on task during the viewing but can be concise enough with only a view questions so that they actually get to enjoy the film as well. They are also perfect pacing guides, so you could pause and discuss a particular point during viewing if needed. A graphic organizer can be used for a movie or documentary.
Check out my ready-to-go movie guides catalog for a variety of films- NO PREP!
PAUSE TO SUMMARIZE WHEN TEACHING WITH MOVIES
Summarizing is a classic strategy for quickly assessing students’ understanding and reactions to a film. Just press pause and have students write a quick summary of the main details until you stop the film. I like to use the SWBST strategy, and I keep blank templates handy. Another way to jazz up pausing to summarize, especially if you have an unexpected visitor, would be to give each student an index card or sticky note to write their summaries on. Extend the activity for movies by having them flip the card over and predict what they think will happen next. You can collect them and read a few aloud and discuss their accuracy when the movie is over. My movies worksheet bundle also has a super cute SWBST worksheet, too.

TRY FOUR-SQUARE FACTS WHEN TEACHING WITH MOVIES
This interactive activity to use while teaching with movies would work very well for a documentary or tutorial. Students fold their paper into 4 sections. I have students write three facts from the film – one per square. They must elaborate on each fact in the square. Then students move with a partner to share their ideas and gain one more. By the end of the quick and easy activity, they have reviewed and should have four facts on their paper. This activity would work best to stop halfway through the movie or at the end. The foldable would look exactly like this one does – from my previous post.

CONDUCT A 3-2-1 CHECK POINT WHEN TEACHING WITH MOVIES
An excellent check for understanding is the 3-2-1 strategy. To make this a little more interactive, I have students fold their paper into three sections, horizontally. You can have students do this before the movie begins, during, or at the end. I have students write 3 new facts, 2 questions they still have, and 1 part they enjoyed. You can certainly modify the elements of the 3-2-1 to focus on particular content questions or for other purposes you may have. For example, when my students watch the Salem Witch Trials Documentary during our Crucible unit, I don’t give them a set of questions to record or a fill-in-the-blank sheet to do as we watch. Instead, I have them write: 1 thing you learned that helps you better understand The Crucible; 2 facts about “witches”; 3 facts about the Salem Witch Trials. We always spend time discussing afterward to make sure everyone has the crucial information, but I like giving them the chance to draw it out on their own. You can also hear me talk about this strategy on IG here.
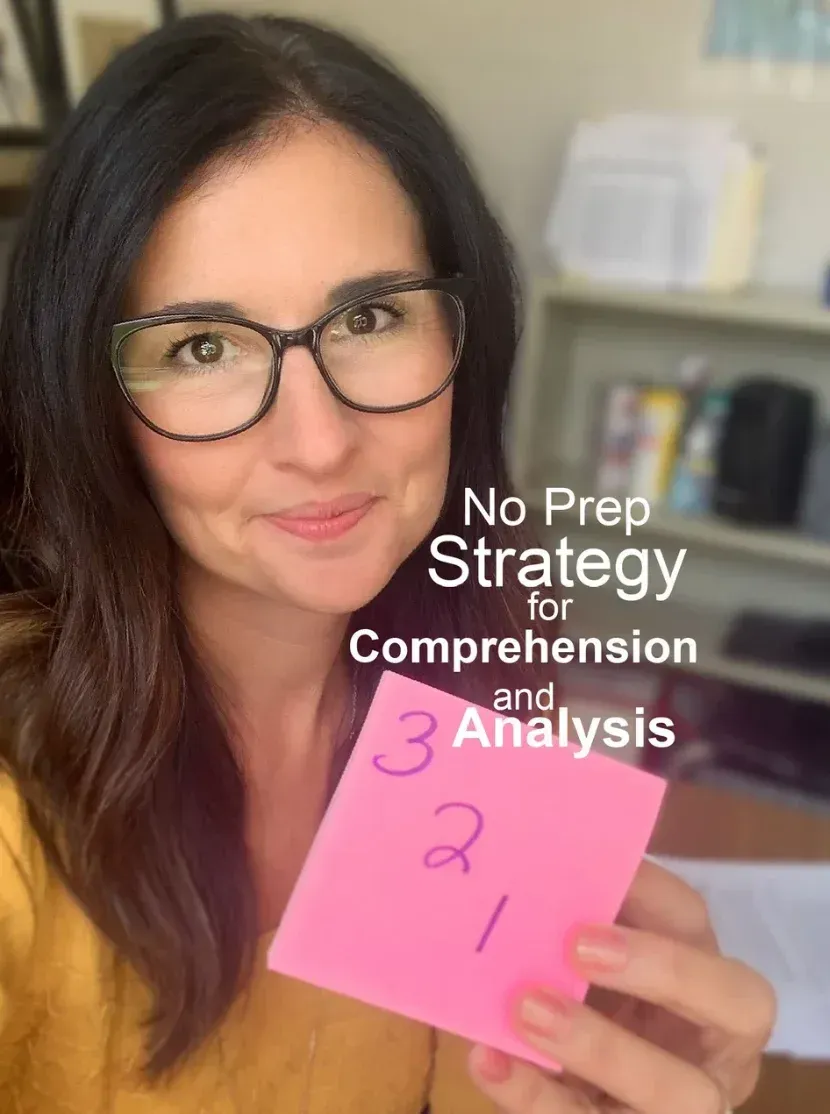
This 3-2-1 checkpoint strategy works well for any subject you would want to show a movie for, too.
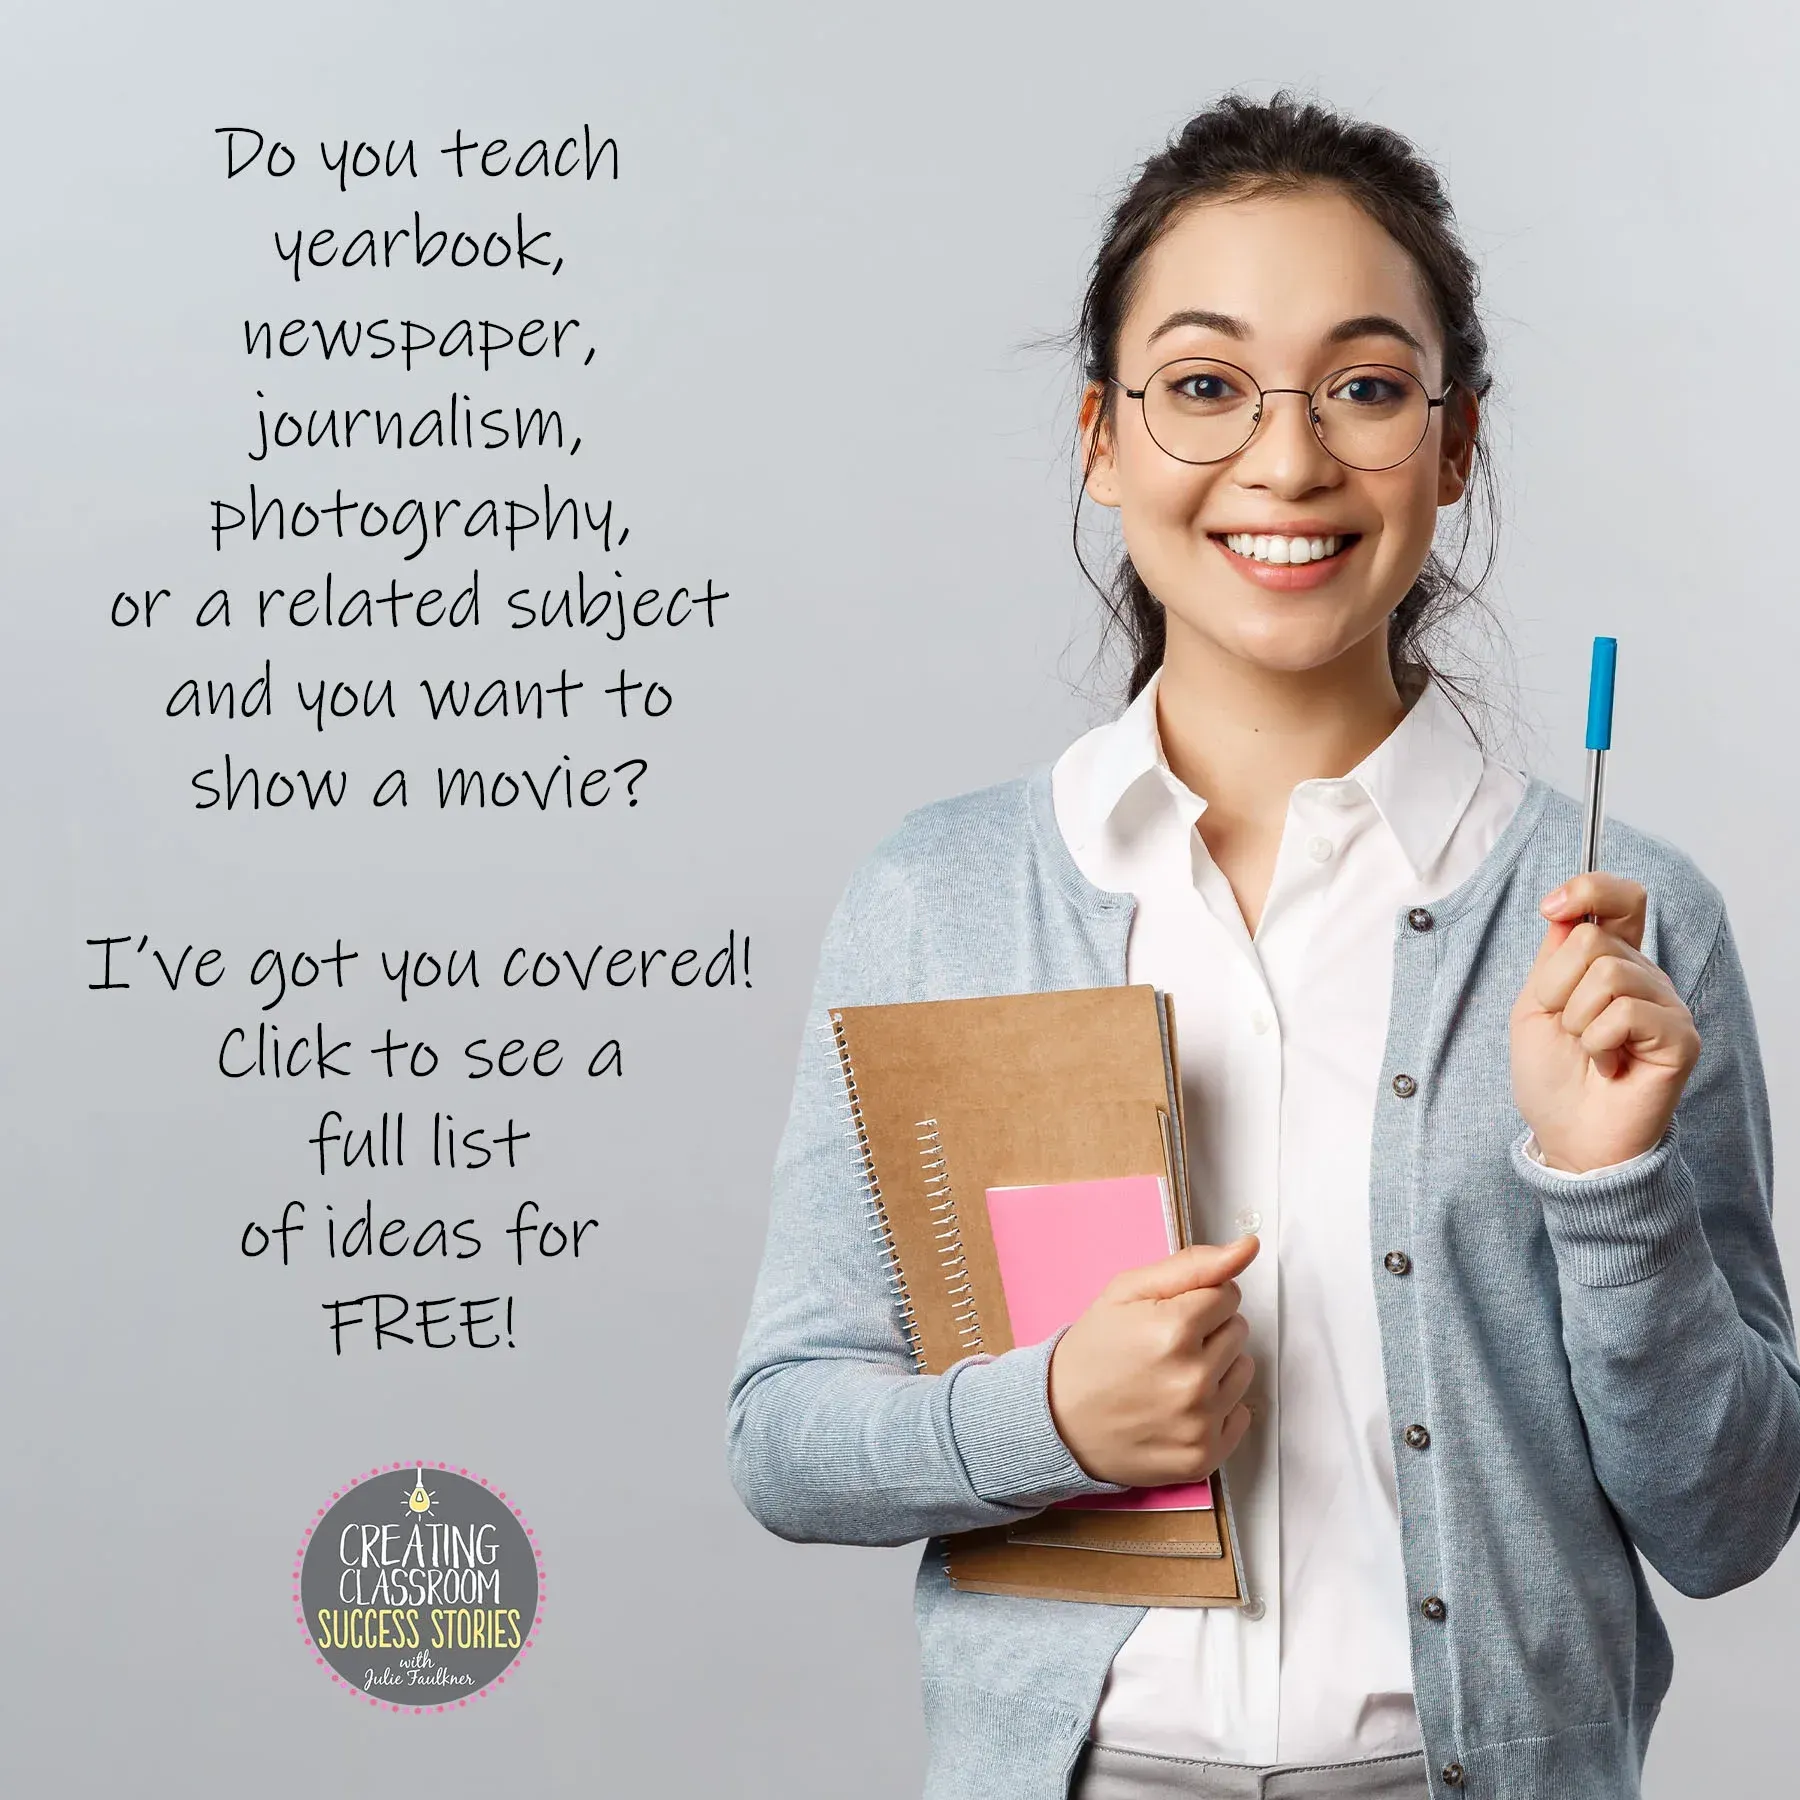
TeachYearbook/Journalism/Newspaper/Photography? Check out my FREE list of related movies.
COMPARE & CONTRAST WHEN TEACHING WITH MOVIES
Comparing and contrasting is a very important skill and most state writing exams, EOCs, and even the ACT, so I try to incorporate as much of it as I can. If you are showing a major motion picture with fictional characters, compare/contrast works very well. Have students make a vertical fold to divide the paper in half (a hot dog fold). On the left side they will write “Protagonist,” and on the right side they write “Antagonist.” In each column, they must write at least five traits about each character. You can also have students compare/contrast a book and its movie. This activity can be done at the beginning of the film or during viewing quickly and easily.
In closing, movies are an excellent way to engage students any time of year, but you can take it to the next level with these simple and easy ideas. If you are planning for a substitute, again a movie is a good choice for a sub plan, and any of these choices could be left with a sub and would do an excellent job of keeping kids on track.
See a video of this blog post here.
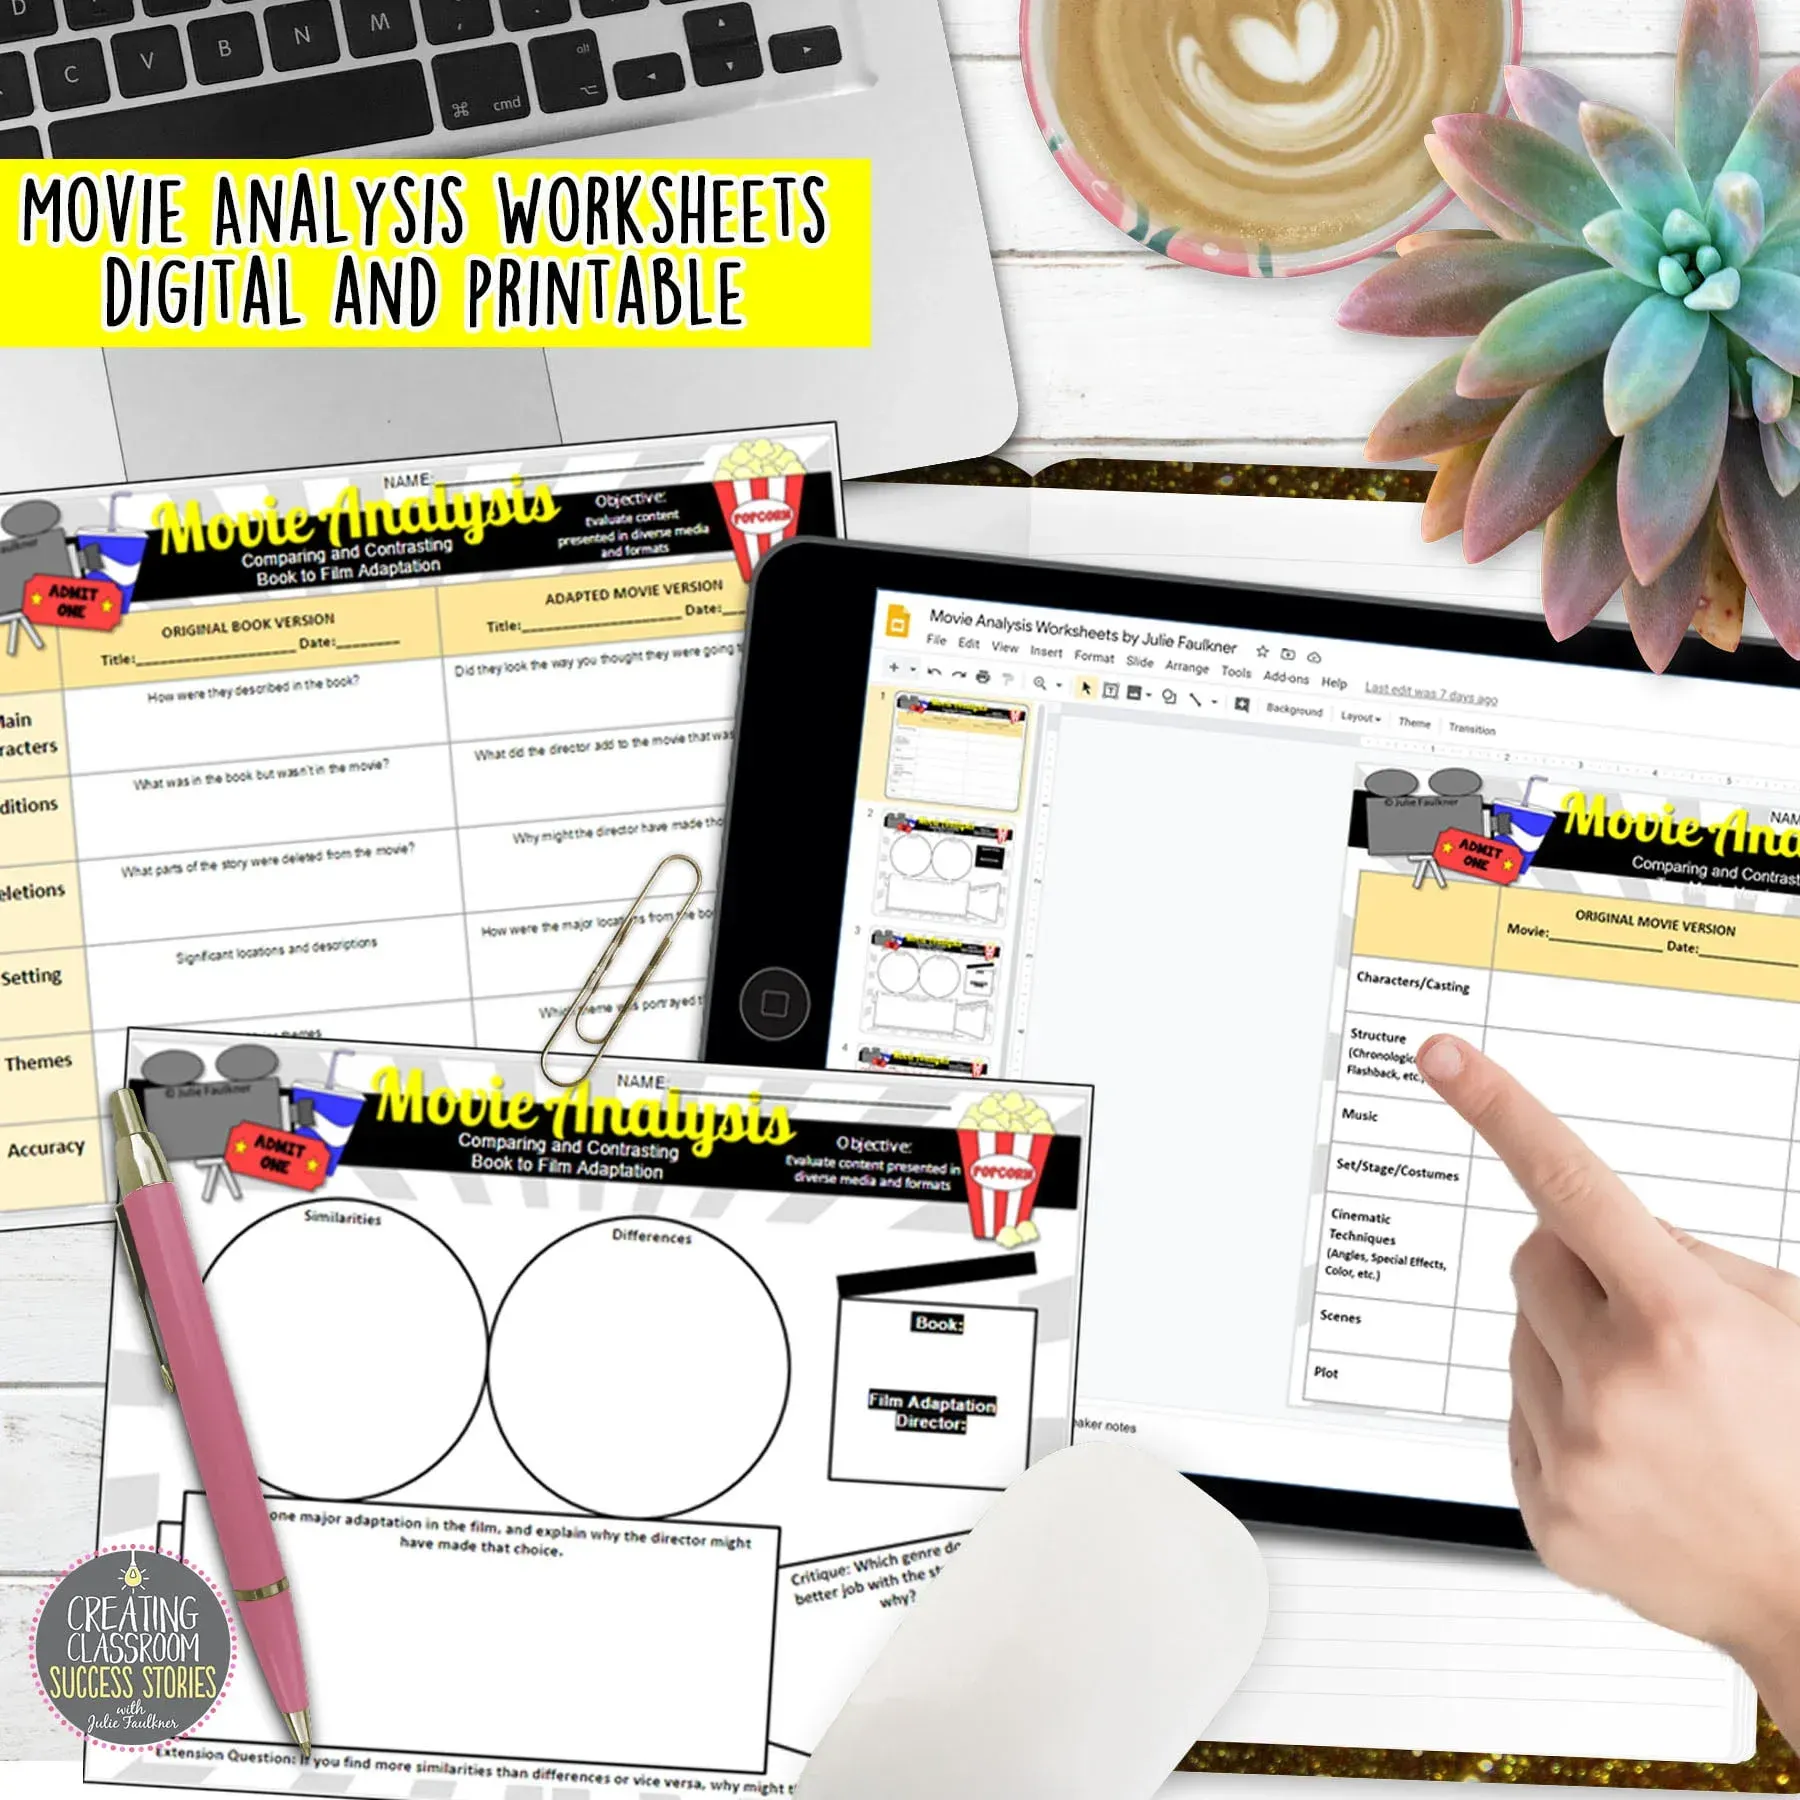
DON’T SEE A TITLE THAT FITS INTO YOUR CURRICULUM? CHECK OUT MY PRINTABLE AND DIGITAL WORKSHEETS FOR ANY MOVIE ANALYSIS.
Classroom success stories from other teachers who have used this resource:
“I have used these worksheets in film clubs and book-to-film comparison lessons, and they are a great resource. Nice solid questions to get the discussions going.” — Angelia D.
“I have been using these for extra credit opportunities and I’m impressed with the content of them. They require a bit more attention from the students than other forms I’ve used and I really like that! Thanks for a great product!” — Sheri J.
Love this content?
Sign up for my email newsletter with more tips, ideas, success stories, and freebies!