Classroom Makeover:
Ideas & Inspiration for a Journey Theme
In this post, I’m sharing how you can Make Over Your Classroom with a Journey Theme just like I did! Hopefully this post of my classroom makeover journey – see what I did there 😉 – will inspire you, too. I’m also doing this post a little differently from my normal five-point posts. I’m giving you tons of ideas and inspiration for a journey-themed classroom.
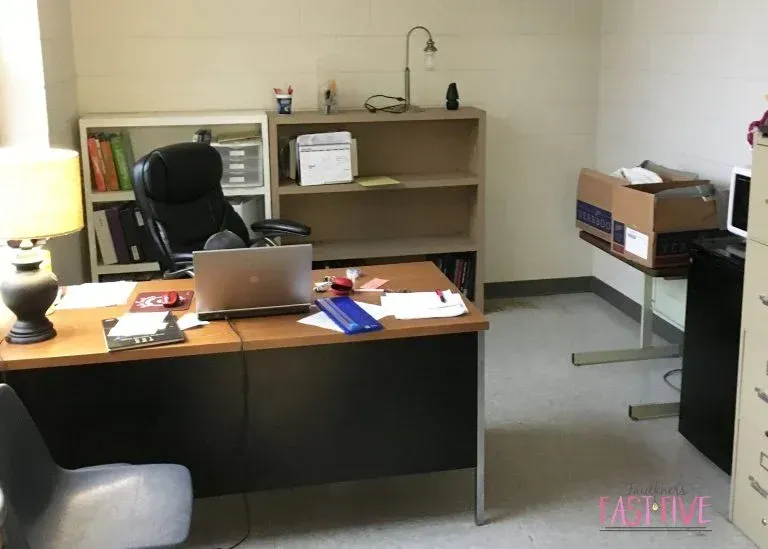
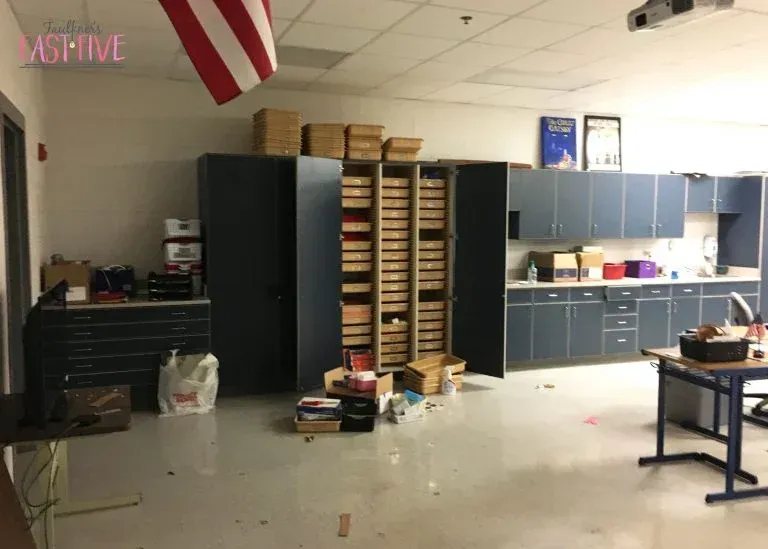
THE OFFICE BEFORE
First, I had to do a lot of cleaning out and cleaning up before I could even move into the room. The office space – below – was so full when I got there that I could barely open the door enough to get in. After tons of work and some help from my very talented hubby, I have an amazing, private office space. Those shelves — he made those!
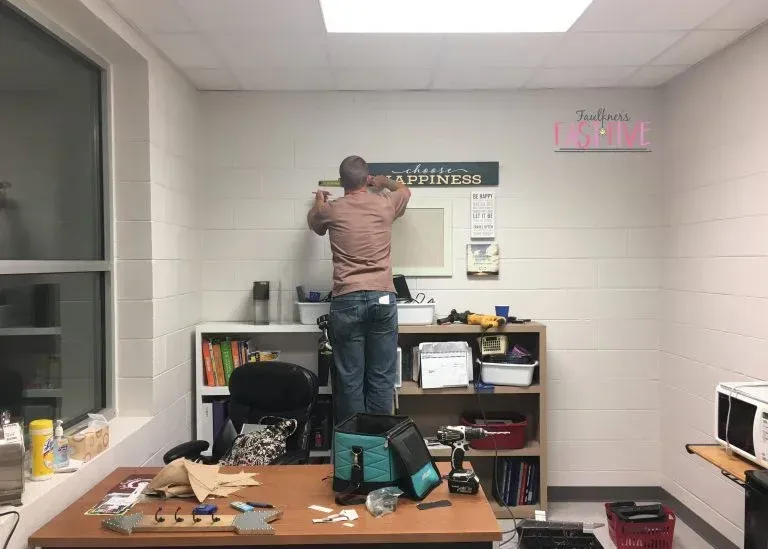

THE OFFICE AFTER
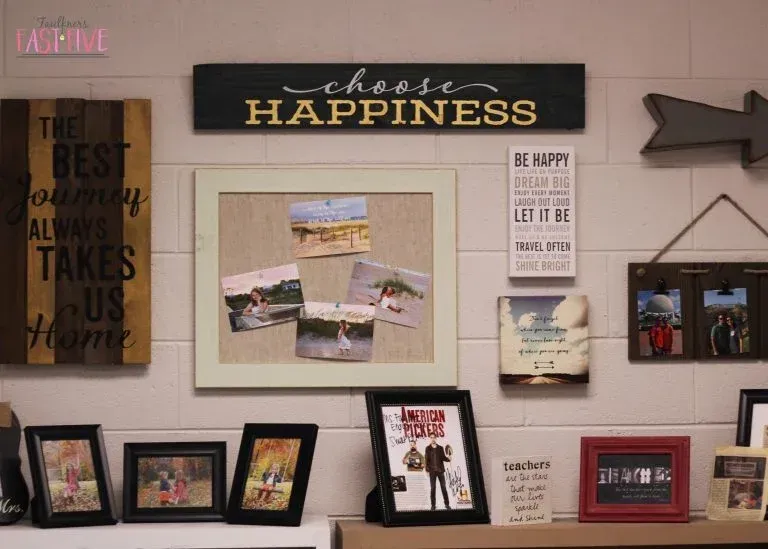
My favorite part of the office makeover is the beautiful collage wall. I found the items at yard sales, antique stores, and clearance racks all summer long. I just picked things that I loved, and we figured out a good layout for the items. On the wall across from the windows above the filing cabinets, I hung two vintage maps that I rescued from the closet in this room. On my desk, I have my re-purposed lamp. (See the tutorial on how to do that here.) I also grabbed these galvanized picnic bins for holding desk items. I even went all out and made a matching planner. You can get that here.

^^The burlap curtains came from Amazon, and I moved them over from my other room. You could easily grab some burlap from a hobby store and whip up your own to save money if you sew.
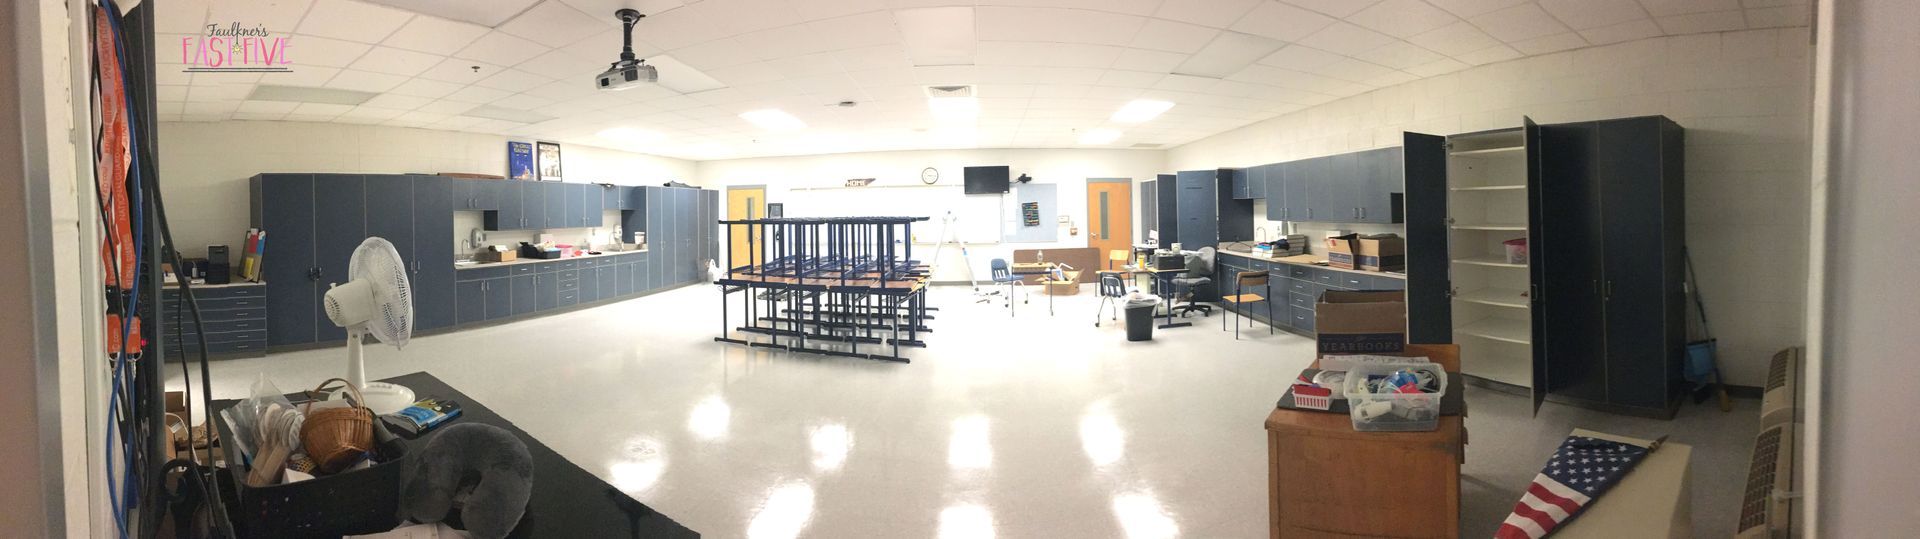
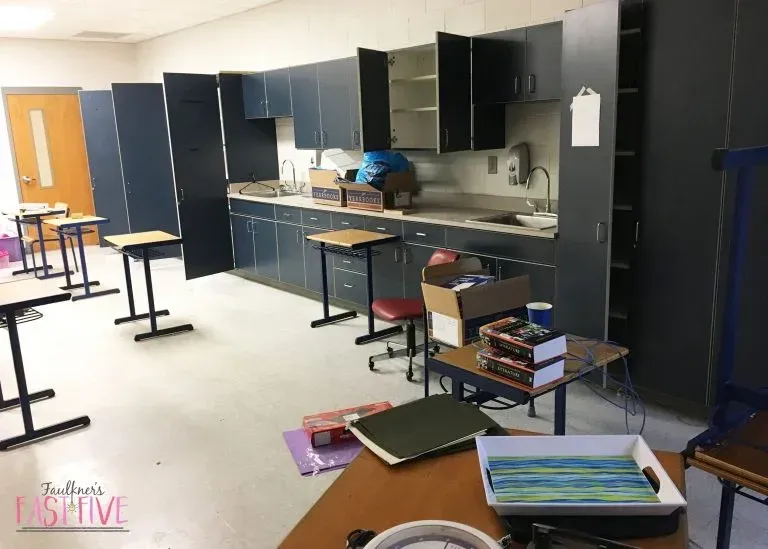
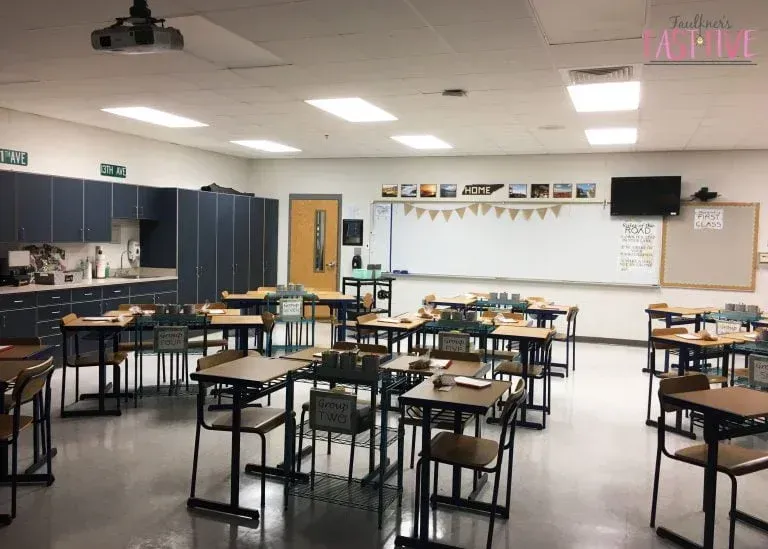
THE CLASSROOM BEFORE
Next, the classroom also needed a lot of cleaning up and cleaning out, but look at all the space and storage!

THE CLASSROOM AFTER THE MAKEOVER: WALLS
One of the first things I tackled in this classroom makeover with a journey theme was hanging up my signs and posters.

^^ I found those cute and authentic street signs above the cabinets at a local antique store.
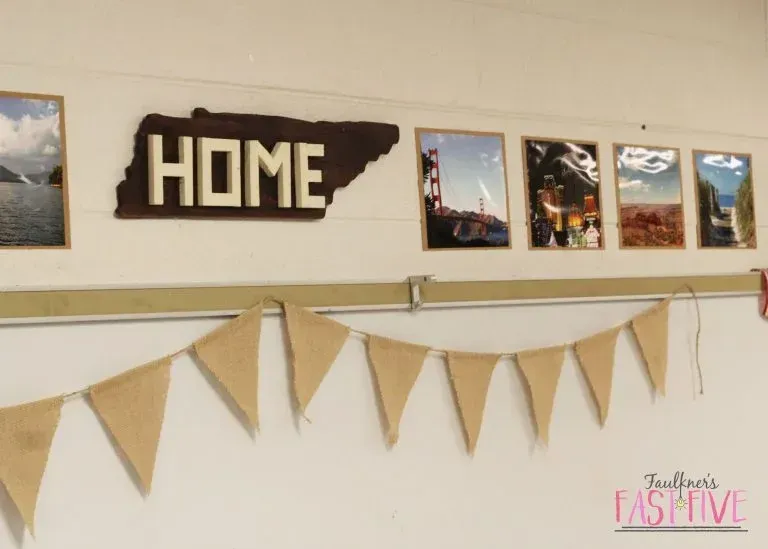
^^ Next, I wanted to display places where I’ve traveled because they bring back good memories for me, and it turned out to be a good conversation starter with my students. In the center is a handmade plaque I got from a local artisan that reminds my students and me that no matter where we go, home is always at the center.
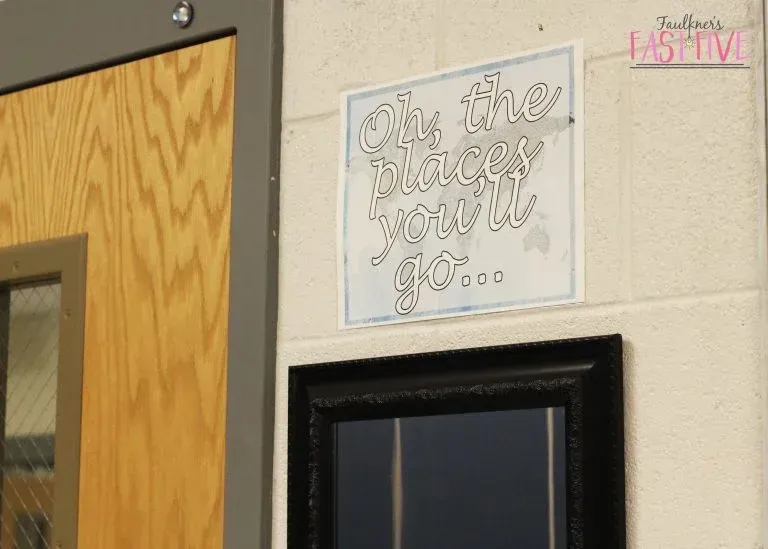
^^ This classroom even has sinks! I wanted to infuse as much text as possible into the room, so I made these journey-themed posters with poetry for above each sink. Get those posters here FREE. I had them printed at Walgreens.
^^ I used remnant linen fabric to line the bulletin board and the two borders came from here and here.
^^ Hall pass signs, classroom rules, bulletin boards, and even the mirror by the door are all decked out with journey-themed touches.
Get all those posters here FREE. Again, printed at Walgreens.


^^ These weekly road map signs for daily tasks are a must for my classroom, and they are easy to make. Here’s how I did it. I bought these weekly calendar posters and put them in these frames. Now, if you had access to large paper to make a poster or even just a poster board and nice handwriting :), you could get away a lot cheaper! I made one for each subject I teach. I put the calendars in frames, and I use a dry eraser marker to write on my daily topics. I do this on Monday so students (me too) can see the plan! Get the weekly road map sign here free.
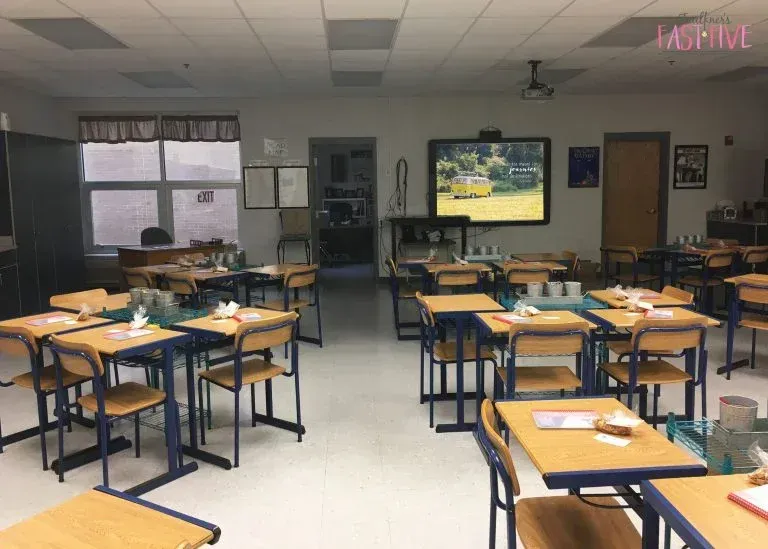
THE CLASSROOM AFTER: STUDENT DESKS
I’d never done grouped seating arrangements before, but I really loved the idea of giving it a try. I have to say that it was successful, and I will be doing it again this year. I didn’t want anybody’s back to the board, so I came up with this formation. It also gives plenty of room for my big kids to have their own space (I have juniors and seniors).


I searched and searched for ideas for towers that would fit my theme, work for the space, and look right for bigger kids. The tins and towers weren’t cheap, but I had done some fundraising to get enough money to cover it. Plus, the towers came from Target and they were on sale and I used a coupon! I got the tins here from Amazon. I put highlighters, colored pencils, and red pens in the tins on the first shelf. I fixed wipes, tissues, and GermX in baskets on the 2nd shelf, and we used the bottom shelf for our textbooks. The towers were really handy for the students.


I printed the signs at Walgreens, glued them to construction paper, put them in a sheet protector, and used paper clips to fix them to the towers. Get the group signs here free.
OTHER DETAILS ABOUT THE MAKEOVER
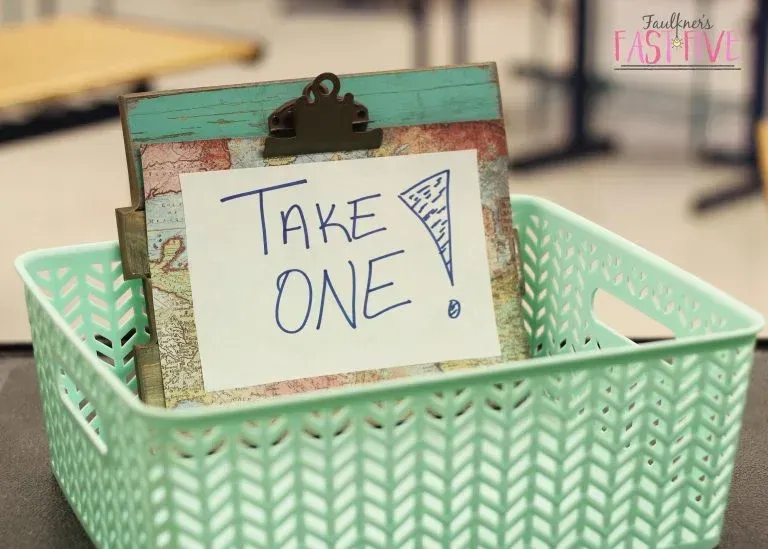
^^ This take-one basket is a strategy that I’ve done for years. I put it on a cart next to my door and put daily handouts in it for kids to pick up on their way in. Here’s a quick video I did to explain more on Instagram.
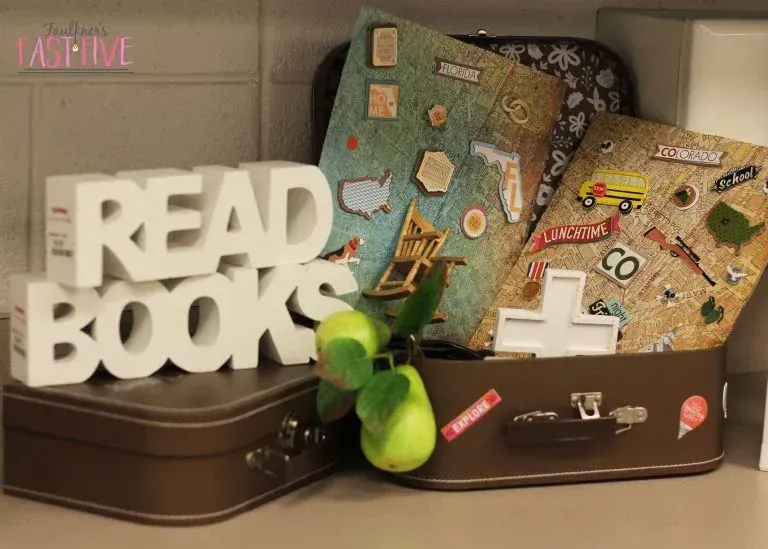


^^I teach English, so reading is a BIG deal in my classroom. I wanted to create a little spot to highlight the novels we would read as a class in the year. I didn’t put the names of the novels because I wanted them to be a bit of a mystery and conversation starter, so I just used symbols and objects that tell the story. The little suitcases are from a fun brand of clothing I love that my friend sells and she gifted them to me (Matilda Jane). I cut pieces of cardboard and glued map-themed scrapbook paper it that I salvaged from my sister’s collection to make the storyboards. I used scrapbook stickers, and luckily they were either on sale or clearance. The two novels pictured are Columbine and Their Eyes Were Watching God. In addition to the stickers on the storyboards, I put other 3D objects like the pears, passport, game controller, etc. The little area did draw attention, and after we read the novels, the symbols started to make sense!

^^ It’s a little hard to see, but on this counter I placed my grade-me basket, calendar, stapler, etc., and my graduation cardboard. That’s really the thing I love most over there. Over the years, I’ve collected the graduation invites and cards seniors have given me, but they were shoved in the drawer. Now, though, they are the perfect symbol for the end of this journey – the goal – for students before they take the next path in life. I love to display their accomplishment, and it gives younger students a reminder of what they are working for. I just bought one of those fabric photo boards from Hobby Lobby and done. It was getting a little crowded, so at the end of the year this year one of my students surprised me with another one as a gift!


^^ This is my workspace. It’s a little counter in the corner. Read here about how I set up my teaching station.

^^ Lastly, I fixed these little gift bags and tags to do assigned seats on the first day! Get the tags here FREE!
I hope you enjoyed this tour of my classroom, and I hope you found some ideas that will inspire you if you want to make over your classroom with a journey theme this year!
READ MORE IDEAS FOR BACK-TO-SCHOOL AT THIS POST!
Love this content?
Sign up for my email newsletter with more tips, ideas, success stories, and freebies!